How to Turn One Character into a Complete Merchandise Collection
A character can become a keychain, a pin or a desktop display. Building a collection takes another step: choosing products that work together, adapting the artwork to each material, and making the whole range feel connected.
For IP owners, artists, and creative studios, developing a merchandise collection often means coordinating several production processes. Acrylic printing, metal finishing, textile printing, and packaging each have different requirements.
This guide explains how to plan a custom character merchandise collection, from the first product selection to sample approval and coordinated packaging.
1. Start with the audience and the purpose of the collection
Before choosing products, decide who will receive or buy them. A collection for a convention booth may need compact items that are easy to display and carry. A premium fan gift set may place more emphasis on presentation and the unboxing experience. A character-led corporate gift set may need useful everyday products alongside a collectible item.
Write down five things: the audience, the sales or gifting channel, the target budget, the expected quantity for each design, and the required arrival date. Specify the destination country as well. “Europe” is useful for planning a market, but it is not a complete delivery brief.
Choose a lead product that expresses the character clearly. Then add supporting items with different uses, rather than choosing several items that all serve the same purpose.
2. Give each product a role
A focused launch can start with three or four complementary products. You do not need every category in the first collection. Use the table below as a planning guide, then review feasibility and pricing against your artwork.
| Product | Possible role | What to confirm in sampling |
|---|---|---|
| Acrylic keychain or charm | Portable accessory and accessible entry item | Artwork visibility, attachment position, print layers and edge finish |
| Enamel pin or metal badge | Small collectible with a distinct material finish | Line definition, colour fills, plating and fastening |
| Acrylic standee | Display piece and visual centre of the range | Base fit, balance, print orientation and protective packing |
| Notebook or other stationery | Useful companion product | Print appearance, paper specification, binding and layout |
| Lanyard | Wearable accessory for events or daily use | Pattern repeat, fabric appearance and attachment specification |
| Coordinated packaging | Connect the range and protect the products | Fit, artwork, inserts and packing sequence |
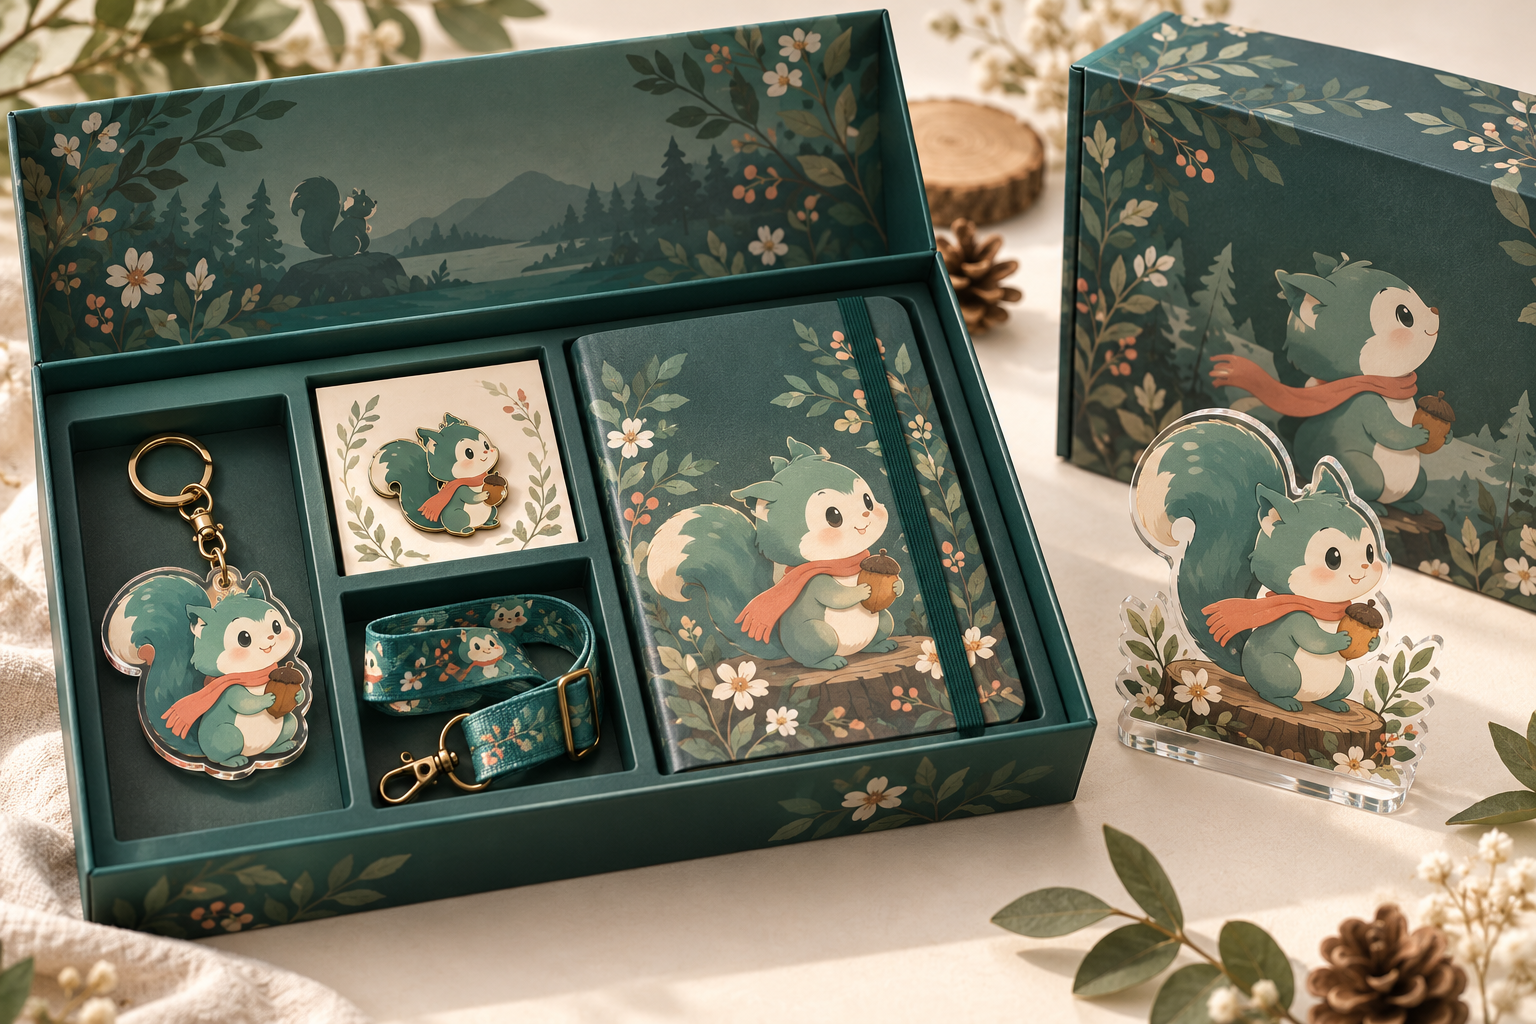
For example, an illustrative starter range could pair a keychain for everyday carrying, a standee for display, and a notebook for practical use. Matching backing cards or a shared gift box can connect the products without requiring every item to use exactly the same artwork layout.
Explore the custom merchandise product range before narrowing down your shortlist.
Explore what your character can become
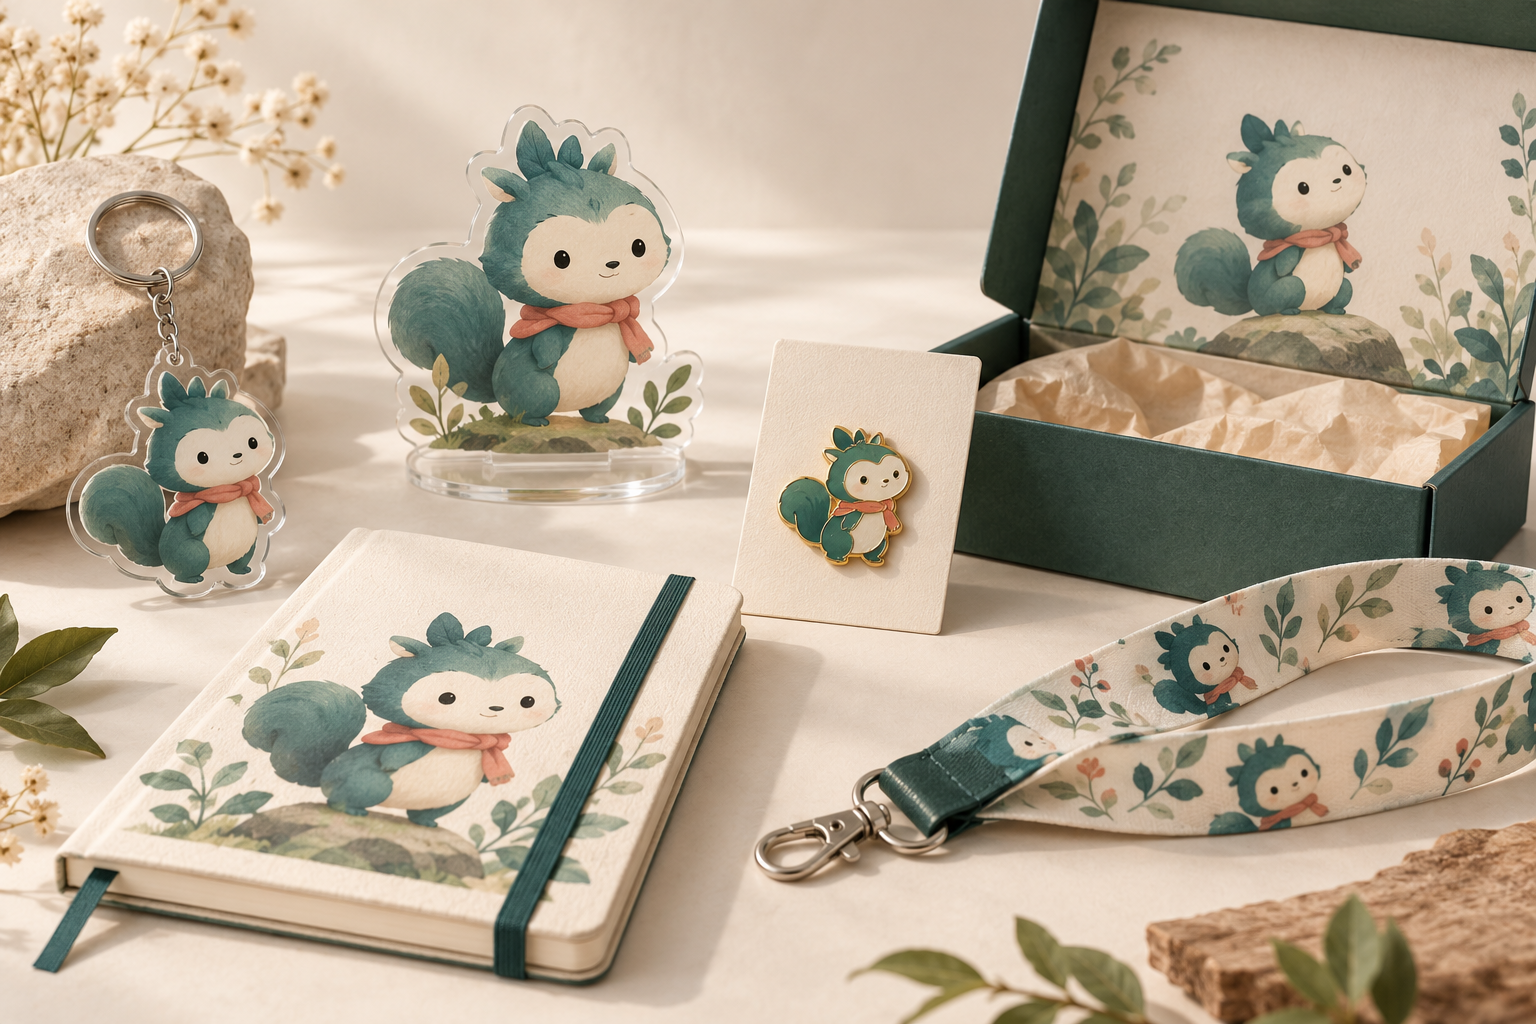
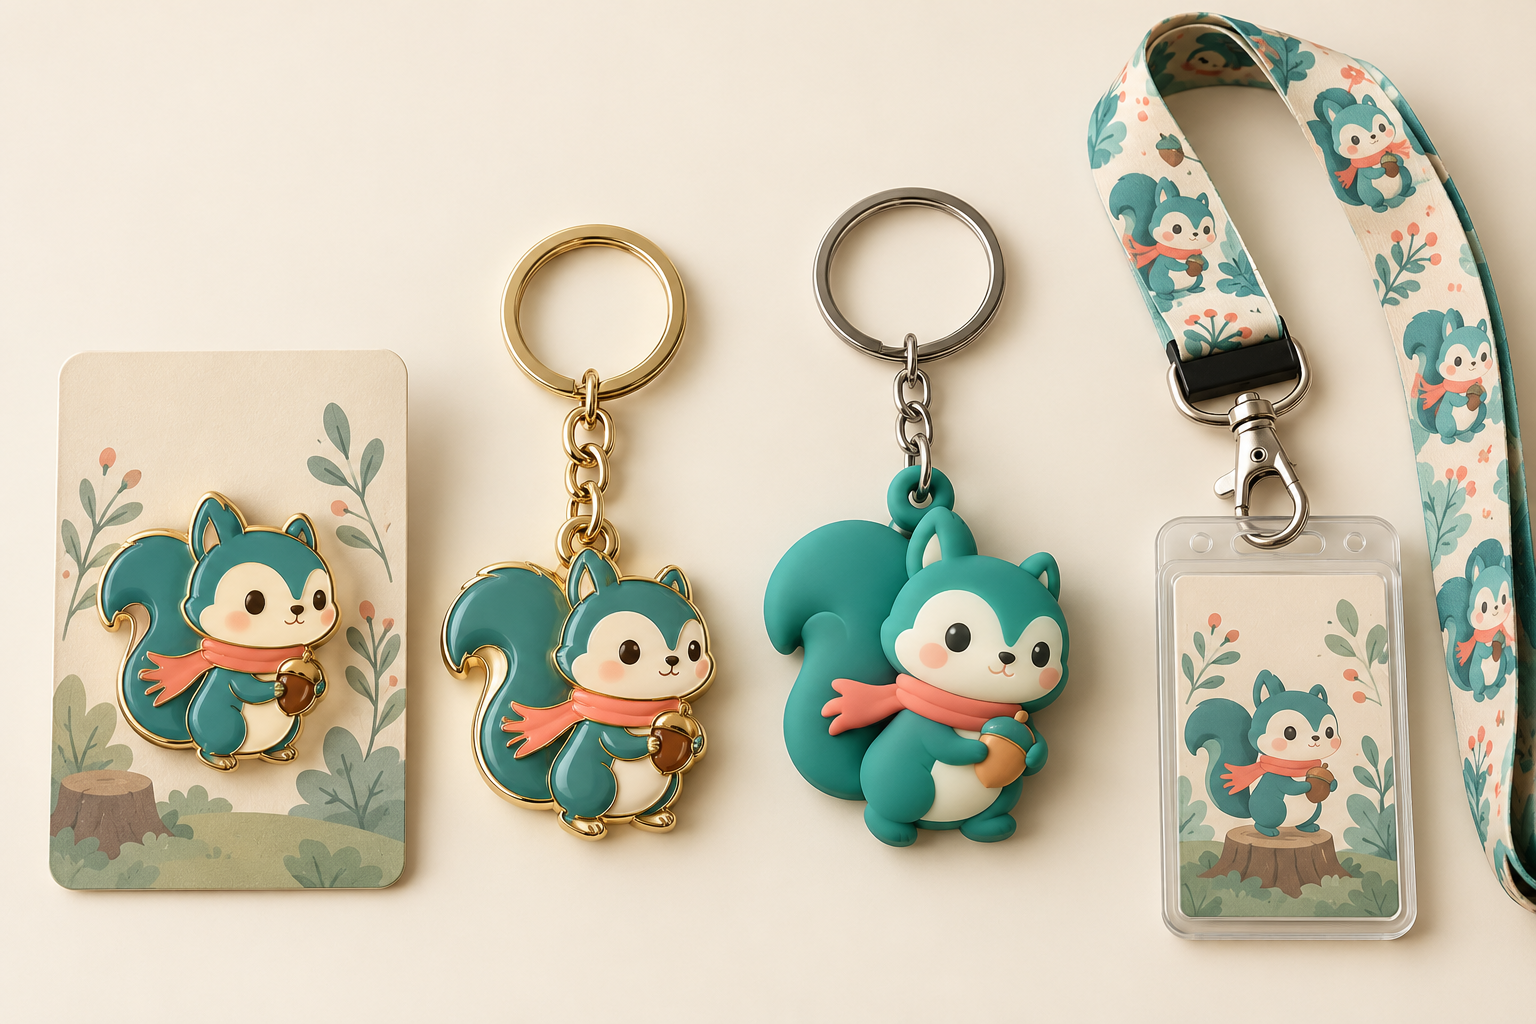
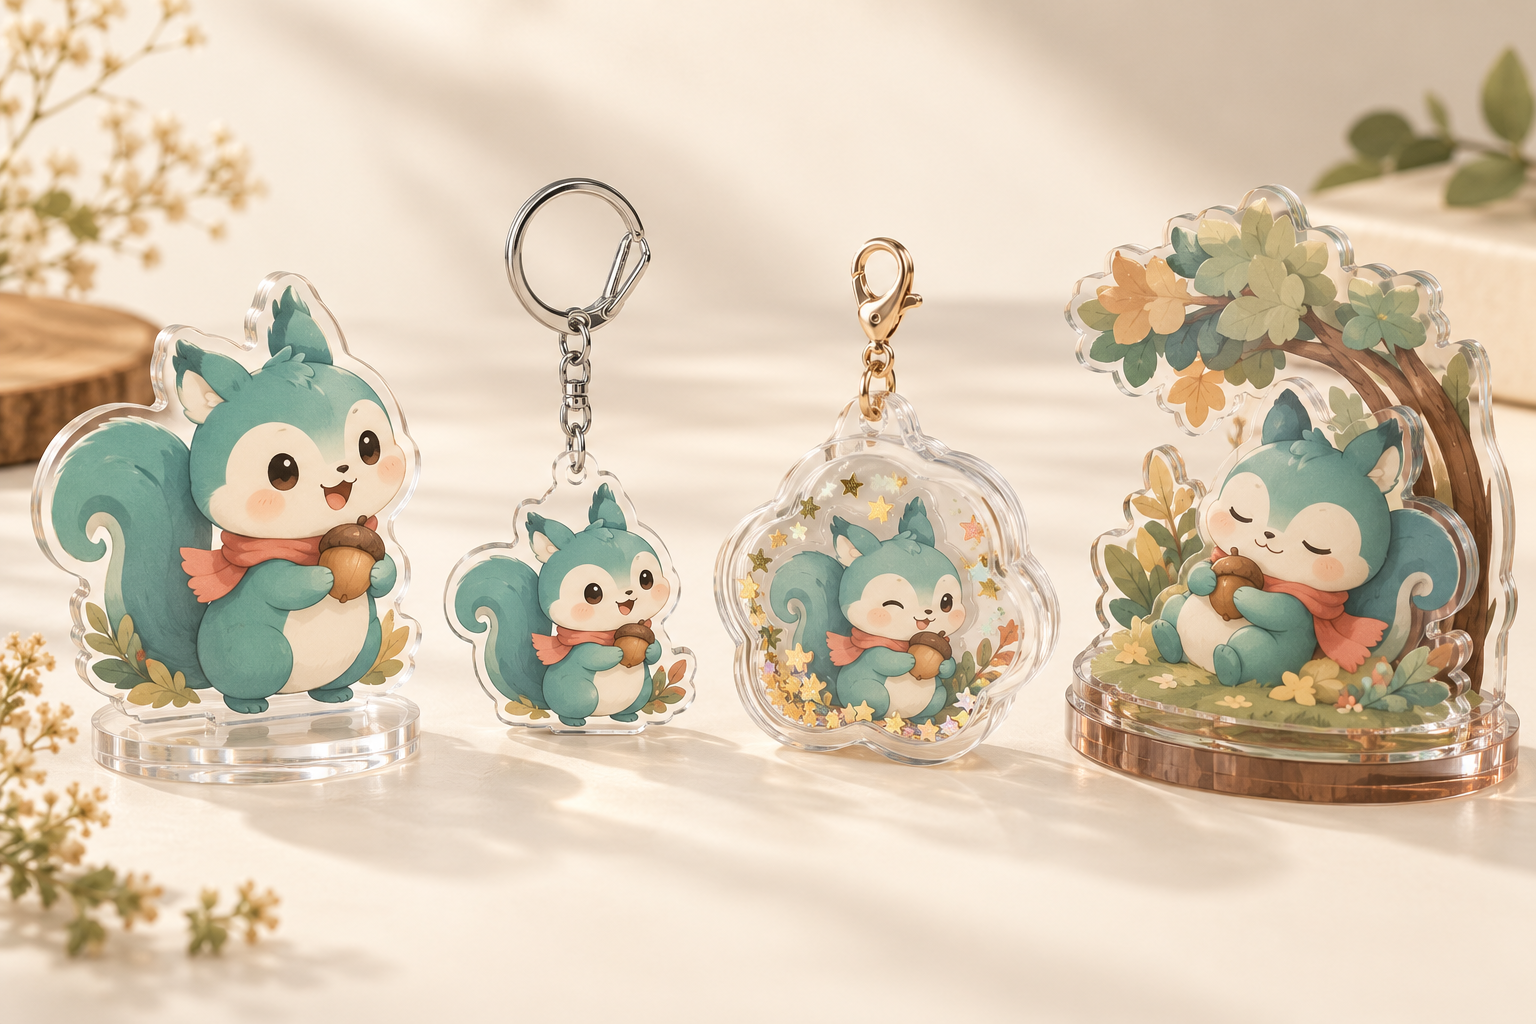
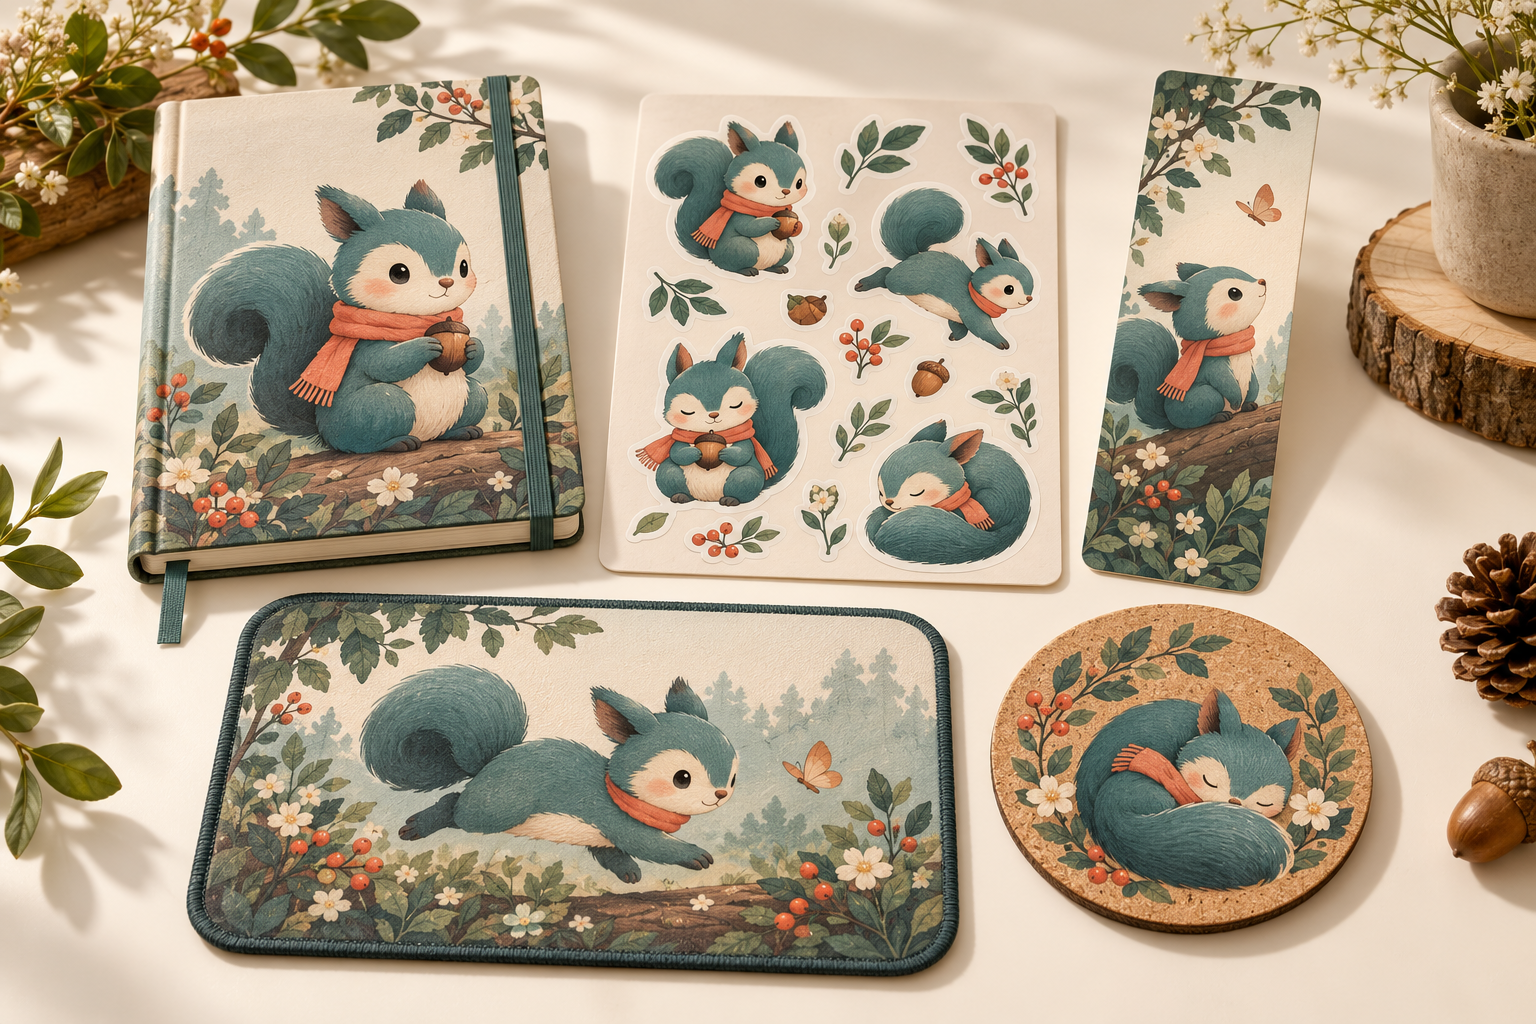
The following concept visuals show possible product directions for a coordinated range. Choose the formats that suit your audience, then confirm construction, materials and artwork through sampling. These are AI-generated illustrations, not photographs of completed customer orders.
Wearable accessories: pins, keychains and lanyards
Acrylic collectibles: standees, charms and layered displays
Everyday products: stationery and desk accessories
Bring the range together in a gift set
3. Create one character reference, then adapt it for each material
Consistency starts with a shared reference pack. Include the approved character artwork, proportions, important facial details, colour references, permitted variations and any elements that must not change. Clearly identify which files are approved for production.
The same source illustration usually needs different production versions:
- Acrylic: define the cut line, white-ink areas, transparent sections, front and back artwork, and the hole or base position.
- Metal pins: review fine details and colour boundaries against the chosen production process. Confirm any simplified areas before making the sample.
- Textiles: plan repeat patterns and check that the character remains recognisable at the intended print size.
- Paper products: adapt the layout for trim, folds and binding so important details are not hidden or cut off.
Consistent colour does not mean that ink, enamel, fabric and transparent acrylic will look identical under every light. Review physical samples together, agree on acceptable differences, and keep approved references for later orders.
For more detail on transparent materials, see our guide to choosing acrylic merchandise for your IP brand.
4. Plan packaging as part of the collection
Decide early whether products will be sold separately, supplied as a gift set, or offered both ways. A standalone pin may need a backing card, while a multi-item set may need fitted compartments and separate protection for the standee.
Confirm the overall dimensions before approving printed packaging. An attractive box is not ready for production until the actual products fit safely inside. Include the assembled set, protective layers and packing order in the sample review.
For a European launch, share the destination, intended audience, product use and sales channel at the briefing stage. Agree who will confirm any applicable safety, labelling, packaging and import requirements. These depend on the product and destination; one generic statement cannot cover every item in a mixed collection. If a material or certification claim matters to your campaign, request the relevant evidence before using that claim in your marketing.
5. Use sampling to approve the whole range
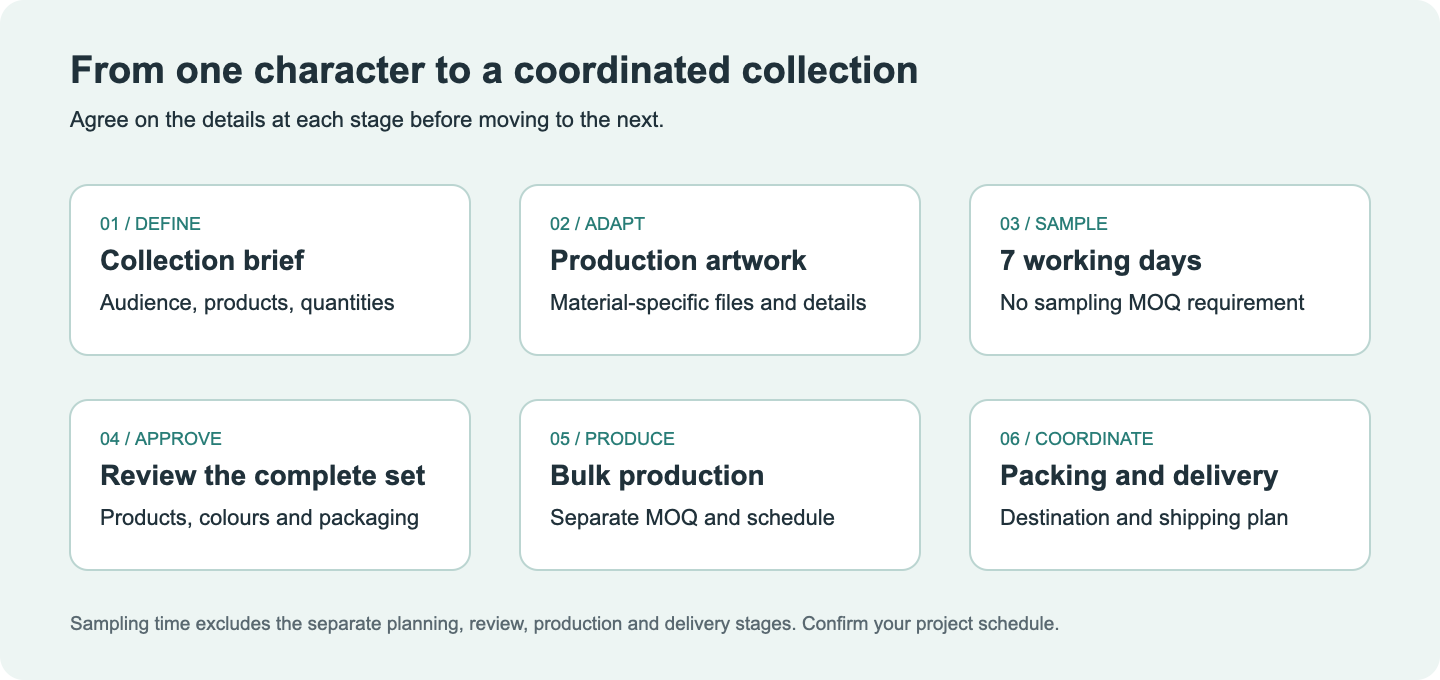
At iMuse, sampling has no minimum order quantity requirement, and the sampling time is 7 working days. Confirm the artwork, specifications and schedule with our team when arranging your sample order. Sampling costs are quoted separately; no sampling MOQ does not mean free sampling.
The 7-working-day sampling period is not a promise of delivery to your address within seven days. Artwork preparation, sample revisions, shipping and bulk production need to be considered in the project schedule.
When the samples arrive, review the collection side by side:
- Does the character remain recognisable across all products?
- Are colours and finishes acceptable against the agreed references?
- Do attachments, bases and moving parts work as specified?
- Do the products fit their individual and shared packaging?
- Are changes recorded clearly for each item?
Keep a dated approval record for each product and the assembled set. If one item changes after approval, check whether it affects packaging dimensions or any related component.
6. Separate sampling quantities from production quantities
You can use sampling to evaluate a collection before committing to bulk quantities. Production MOQs are a separate discussion and depend on the product, design, materials and process.
Ask for quantities to be quoted per product and per design. A collection of five products does not automatically mean the same production quantity is suitable for all five. Also confirm whether each item will be packed individually, assembled into sets, or split between the two formats.
A useful quotation should distinguish product costs, tooling where applicable, sampling, packaging, assembly and shipping. This makes it easier to simplify the range without losing the character or the purpose of the collection.
7. Work backwards from your launch date
Plan separate milestones for artwork confirmation, sampling, review, revisions if needed, bulk production, packing and transport. Products using different processes may finish at different times, so a coordinated set needs a final assembly milestone as well.
For orders going to several offices, stores or event locations, confirm the quantity and packing requirements for each address before shipment planning. Agree on the shipping arrangement and responsibility for clearance, duties and taxes in the quotation.
What to send for a collection proposal
You do not need to finalise every production detail before contacting us. A concise brief is enough to start the conversation:
- Character artwork and confirmation that you have the necessary rights or authorisation to use it.
- Your audience and whether the products are for retail, events or gifting.
- The product types you are considering.
- Estimated quantities per design and an indicative budget.
- Destination country and required arrival date.
- Individual packaging, gift-set packaging, or both.
Frequently asked questions
Can one character be used across different merchandise products?
Yes. Start with approved source artwork, then prepare production files for each material and product size. The goal is to preserve the character while adapting details to the chosen process.
Is there a minimum quantity for samples?
iMuse has no MOQ requirement for sampling. Sample charges and specifications are confirmed for your project. Bulk production MOQs are quoted separately.
How long does sampling take?
iMuse’s sampling time is 7 working days. Confirm the schedule when arranging the sample order, and allow separately for artwork preparation, review, revisions and shipping.
Can iMuse coordinate the products and packaging together?
Yes. We can help coordinate a multi-category character merchandise collection and its packaging through one project contact, with the scope and specifications agreed for your order.
Build your character collection with iMuse
Whether you are planning a first character range or extending an existing IP, iMuse can help turn your artwork into coordinated products and packaging. Learn more about our merchandise development approach, or share your product ideas and destination with our team.
Ready to plan your collection?
Send your character artwork, preferred products, estimated quantities and launch date. Request a custom merchandise collection proposal. Sampling has no MOQ requirement, with a sampling time of 7 working days.
Planning employee welcome kits, client gifts or company mascot products? Explore our custom corporate gift sets for European brands for product combinations, packaging and sampling details.